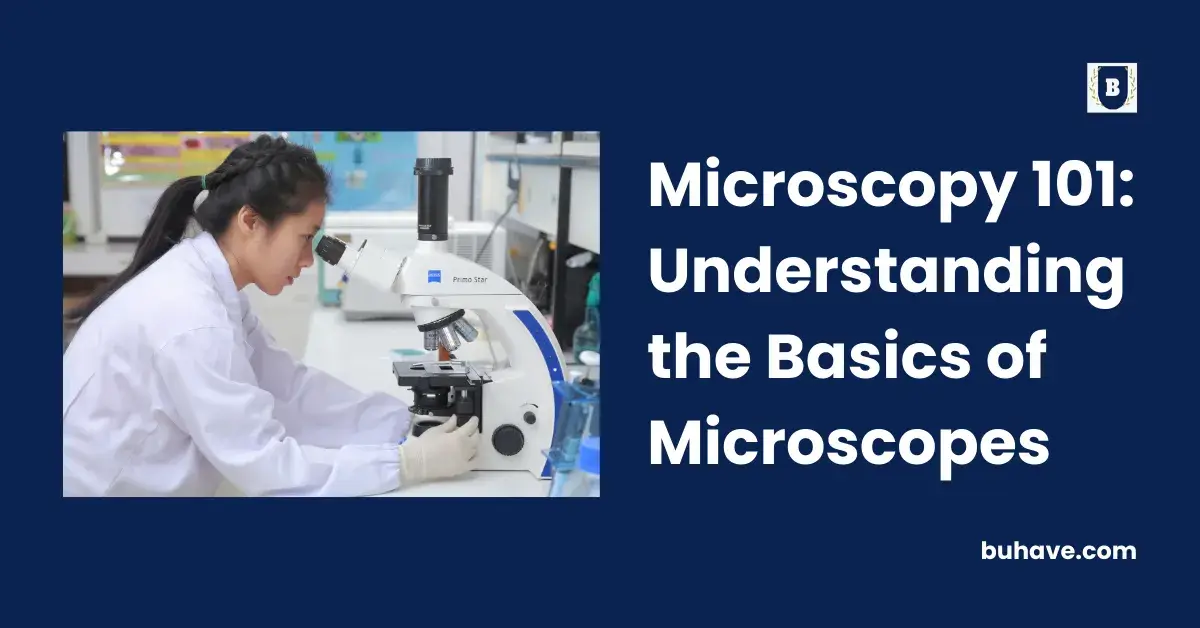
A microscope is a piece of equipment used to magnify items invisible to the naked eye. They can be used to observe living organisms or other objects, and they are often used in educational and scientific settings.
To understand the basics of the microscope, you first need to know the name of the parts and how to locate them. Labelling a microscope is key to communicating with others, especially in a teaching or training situation. It’s also essential to troubleshoot issues and find replacement parts if needed.
The Parts
The Arm
The arm is C-shaped, and it connects the base to the tube. This is adjustable so you can angle the arm for your comfort. When transporting a microscope, it should be gripped by the arm, and held at the base. If you need to adjust or move the device, it should be done using the arm.
The Base
The base is the microscope’s largest area, and it supports the rest of the device. Not only will the base keep your device steady, but it will ensure you achieve a clear image. The base’s size will depend on the weight of the microscope.
The Tube
At the top of the microscope, you will find the tube connected to the arm. At the bottom of the tube is a nosepiece, also known as a turret. You cannot adjust this, and while some advanced microscopes feature two eyepieces and tubes, the majority have just one of each.
Several parts factor into magnifying objects.
- The stage is located beneath the turret, where you place the item to magnify. You can use the clips to secure the object and there is a hole at the centre to illuminate the object so ensure it is correctly aligned.
- The illuminator is the light source under the stage. Sometimes this is a mirror, which you may need to adjust to reflect sunlight.
- A nosepiece or turret is a rotating circle located beneath the tube. The purpose of this part is to provide lens support, which allows you to cycle through different lenses until you have the correct one. While microscopes generally have two lenses attached, many come with more. There are condenser lenses and objective lenses. Condenser lenses focus the light and are ideal for higher magnifications because they sharpen. An objective lens is fragile and comes in a range of magnifications, from x4 to x100.
- The eyepiece is located at the top of the tube, and this is where you look to see the magnified object.
- At the side of the arm, you will find controls that provide you with knobs to adjust magnification. They either move the stage closer or push it further to provide you with the view you need. There is a safety feature, called a rack stop, that will prevent you from damaging the lens by moving the stage too close.
Final Thoughts
In addition to the parts of a microscope, you should familiarise yourself with the different types of microscopes that are available. There are simple microscopes, scanning probes, compound microscopes, stereomicroscopes, and electron microscopes. In addition, there are different illumination options and focus systems as well. Ultimately, the type of microscope you need will depend on the objects or samples you plan to view.

