Ai Image Enhancer: Complete Practical Guide
An Ai Image Enhancer can take an average photo and turn it into a sharpened, colorful, publication-quality image. It doesn’t matter whether you are a marketer creating product shots, a photographer trying to rectify low light noise, or a designer simply trying to restore an old family photo, a good image enhancer can definitely help you achieve a higher quality without the time investment involved with retouching manually. In this friendly guide, you will learn
what exactly an Ai Image Enhancer does
how it processes things behind the scenes, where it shines, where it falls short, and how to determine the best image enhancer for your workflow with suggestions that keep your projects easy to manage and on brand.
Specifically, An Ai Image Enhancer is a software that will scan and analyze a photo and then improve the photo automatically by sharpening detail, removing noise, correcting color, and even increasing resolution (upscaling) while leaving natural textures intact. Rather than manually stacking filters in a traditional editing program, you would do one enhancement or smart preset, look at the preview, and keep moving. The goal is clear: create visuals that are publication-ready more quickly with a consistent level of quality and minimal artifacts.
How Does Enhancement Work Behind the Curtain?
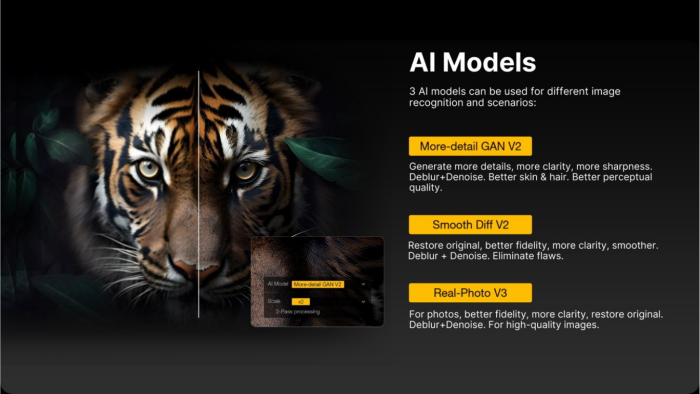
Modern enhancers depend on trained models capable of recognizing edges, textures, faces, fabrics, skies, and more. Clearly, when you put an image through the tool, it predicts a tidier version that is sharper than the original, trying to estimate some missing detail and suppress distortion made worse by lossy compression or low light. It’s important to note that with respect to face refinement modules, the model often separately identifies skin, hair, and eyes from the background, which helps to retain a live look. The gems in the upscaling components had the mapping for each pixel to several new pixels using learned structure so that the outcome would appear to have details instead of looking pixelated.
Core Features You’d Actually Use
When helping you to glaze over long lists of features, we often forget that most creators rely on a usable set of capabilities day-to-day:
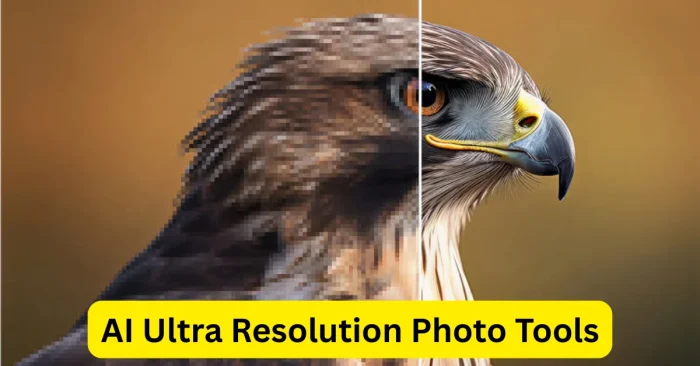
- Super-resolution upscaling: enlarge for output to print, or high-DP screens without losing edges.
- Denoise and deblur: clean grain from high-ISO clicks and reduce motion blur for demo or web.
- Color and tone correction: keeping exposure balanced, white balance fixed, and recover highlights or shadows.
- Compression artifact cleanup: smooth out blockiness and halos from poor quality JPGs while retaining details.
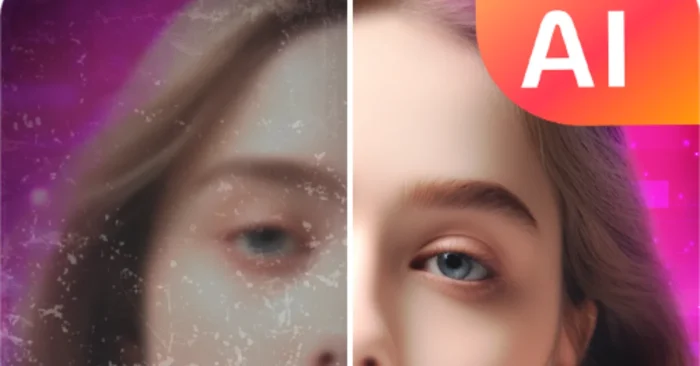
- Face refinement: subtle skin smoothing, clear eyes, and defined hair shape, without looking plastic, or heavily “over-edited”.
- Background enhancement: Swap out sky haze, peel away foliage detail, enhance fabric and/or product texture.
Use Cases Across Industries
Different teams lean on an Ai Image Enhancer for different reasons, but the business case is consistent: better output, less time.
- E-commerce: Upscale product images, remove JPEG artifacts, and standardize color for storefronts.
- Photography: Rescue under-exposed or noisy shoots and deliver consistent albums faster.
- Marketing & social: Create sharp thumbnails and ad creatives that hold attention on mobile feeds.
- Real estate: Clarify interiors, brighten exteriors, and correct lens noise from wide-angle shots.
- Heritage & archives: Restore scans by removing scratches, lifting contrast, and rebuilding fine detail.
- Publishing & print: Hit resolution targets for posters, catalogs, and magazine layouts.
Step-by-Step Workflow for Reliable Results
If you want predictable outcomes, follow a simple repeatable process:
- Audit the source: Check exposure, white balance, resolution, and artifact type (noise, blur, blockiness).
- Choose a starting preset: Pick “Clean & Sharp,” “Low-Light,” or “Portrait” rather than toggling everything at once.
- Upscale (if needed) first: Run super-resolution to invent structure before you micro-tune noise or color.
- Denoise & deblur carefully: Increase in small steps; zoom to 100–200% to watch for plastic skin or edge halos.
- Correct tone and color: Adjust exposure, white balance, and contrast to restore realism.
- Face refinement last: Keep skin natural; reduce strength on children and seniors for authenticity.
- Export for destination: Web (JPG high quality, sRGB), print (TIFF/PNG, 300+ PPI, Adobe RGB/CMYK), or app-specific settings.
- Document presets: Save named presets per client or channel to keep brand visuals consistent.
Quality Metrics and File Formats That Matter
While “looks great” is the ultimate test, measurable benchmarks help. Aim for a crisp edge without ringing, natural micro-contrast in hair and fabric, and skin that retains pores. For deliverables, PNG works for transparency and graphics, JPG (high quality) for web speed, and TIFF for archival or print. When exporting for social, use platform-friendly sizes to avoid aggressive server compression that can undo your improvements.
Pros, Limitations, and Ethical Considerations
The biggest advantages are speed, consistency, and the ability to salvage borderline images. Limitations include occasional over-sharpening, plastic textures, or halo artifacts if settings are pushed too far. Ethically, be transparent in contexts that require authenticity (journalism, scientific imaging) and respect privacy in face enhancement. For commercial retouching, follow client guidelines on realism versus stylization.
How to Choose the Right Enhancer (Without Overthinking It)
Pick based on your actual throughput and the images you process most:
- Portrait-heavy? Choose tools with refined face models and subtle skin controls.
- Product & macro? Look for precise edge handling, artifact cleanup, and color accuracy.
- Event & low-light? Prioritize denoise quality and batch processing speed.
- Archive & restoration? Seek scratch removal, film grain handling, and high-bit-depth output.
Test with your own files, compare before/after at 100%, and time each export. Small time savings per image add up across campaigns.
Frequently Asked Questions (FAQs)
1. Will an enhancer fix every blurry or low-resolution photo?
It can recover a surprising amount of perceived detail, but there are limits. Severe motion blur, extreme compression, and heavy cropping reduce what the model can infer. Start with the cleanest source available and apply modest settings for the most natural improvement.
2. What’s the safest order of operations for best quality?
Upscale first (if you need more resolution), denoise and deblur second, then correct tone and color, and finally refine faces. This sequence prevents you from amplifying noise or baking in artifacts prematurely.
3. How do I keep portraits from looking plastic?
Reduce skin smoothing strength, increase detail preservation, and mask enhancements to avoid lips, eyes, and brows getting blurred. Always review at high zoom and use a lighter touch on children and seniors to preserve character.
4. Which export settings should I use for web vs. print?
For web, export JPG at high quality with sRGB color and dimensions sized to the platform to avoid re-compression. For print, use TIFF or PNG at 300+ PPI with the printer’s preferred color profile. When in doubt, ask your print provider for a spec sheet and create a preset you can reuse.


